 how-to
How Do You Prevent Corrosion on Outboard Engine Components?
Last Updated: October 24, 2026
Quick Summary
To prevent corrosion outboard engine damage, flush with fresh water after every saltwater trip, apply corrosion inhibitor spray monthly, check and replace sacrificial anodes every 50 saltwater hours, and protect fasteners and electrical connectors with marine-grade wax and dielectric grease. These routine maintenance steps take about an hour per month and stop corrosion before it causes expensive internal damage.
- Flush your outboard with fresh water for 5-10 minutes after every saltwater trip to remove salt deposits from cooling passages.
- Apply corrosion inhibitor spray monthly to exposed metal surfaces, but avoid spraying rubber seals, electrical connectors, and plastic components.
- Replace sacrificial anodes when they are less than half their original size or show heavy pitting or chalky deposits.
- Inspect fasteners and electrical connectors monthly for white, green, or blue corrosion deposits and clean immediately if found.
- Apply dielectric grease to electrical connectors monthly to repel water and prevent corrosion without conducting electricity.
Table of Contents
- Why Corrosion Threatens Outboard Engine Components
- How to Flush an Outboard Motor After Saltwater Use
- Using Outboard Motor Corrosion Spray Safely
- Understanding Boat Sacrificial Anodes and Replacement
- Protecting Exposed Metal, Fasteners, and Electrical Connections
- Outboard Engine Maintenance Checklist for Corrosion Prevention
- Diagnosing Early Corrosion and When to Seek Professional Help
- Protecting Your Outboard Investment With Primo Yachts
- Frequently Asked Questions
Why Corrosion Threatens Outboard Engine Components
Corrosion is the silent killer of outboard engines. Salt, moisture, and dissimilar metals combine to eat away at your powerhead, fasteners, and electrical connections.
The damage starts invisibly. Microscopic pitting forms on exposed metal surfaces. Fasteners seize. Electrical connections corrode, causing misfires and dead batteries.
This is where understanding the threat becomes your first line of defense, and learning how to prevent corrosion outboard engine damage starts with consistent maintenance. You can learn about inspecting yacht engine history before purchase to assess existing damage when buying, but prevention is always cheaper than repair.
Saltwater exposure accelerates corrosion dramatically. The salt creates an electrolyte that speeds oxidation on metal surfaces. Freshwater environments are gentler, but they still corrode, especially if your engine sits unused for weeks.
How to Flush an Outboard Motor After Saltwater Use
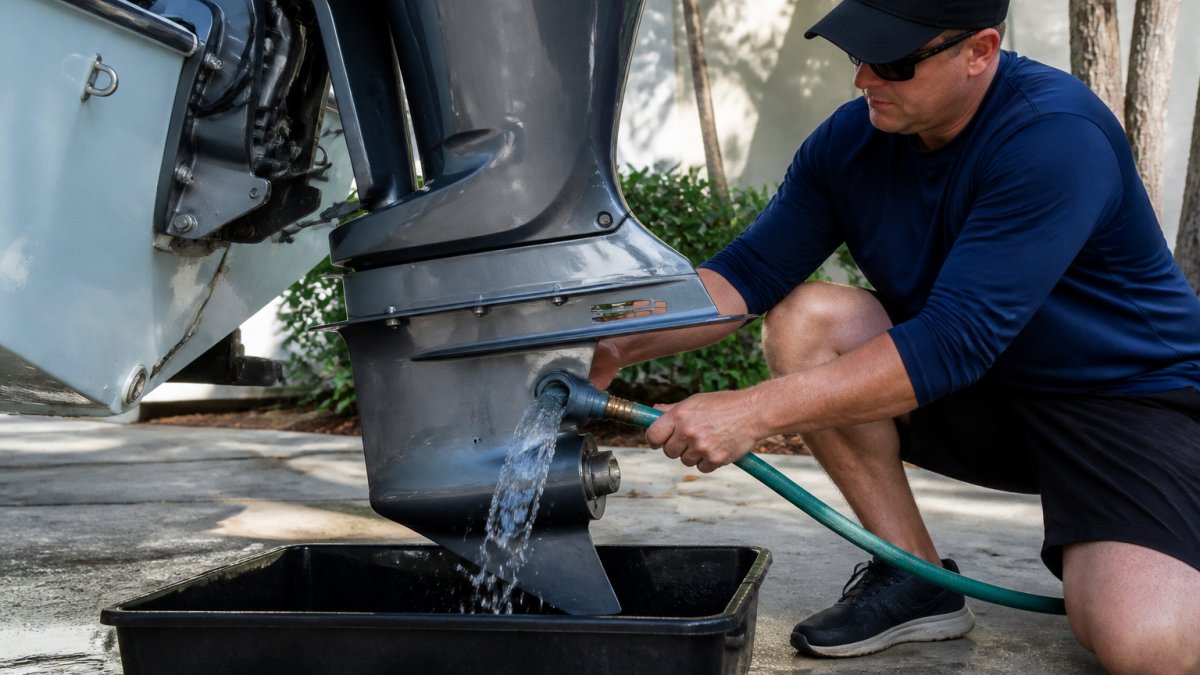
Flushing is your first and most important defense. After every saltwater outing, your outboard needs fresh water running through its cooling system. This removes salt deposits before they can harden and corrode internal passages.
What You'll Need
- Freshwater source (garden hose or flush kit)
- Flushing muffs (soft rubber cups that fit over the water intake)
- Bucket (optional, for portable flushing)
- 5-10 minutes of your time
Step-by-Step Flushing Procedure
-
Connect the flushing muffs to your outboard's water intake ports. These rubber cups seal around the lower unit and direct fresh water into the cooling system.
-
Turn on fresh water slowly. Start with low pressure. Let water flow for 30 seconds before starting the engine.
-
Start the engine and run it for 5-10 minutes. The impeller draws water through the entire cooling system. You should see water flowing out the telltale stream (a small outlet on the side of the lower unit).
-
Keep the water flowing the entire time. Do not let the engine run dry, even for a few seconds. This causes cavitation damage and defeats the purpose.
-
Shut down and let it cool. Turn off the engine first, then turn off the water. Let the outboard sit for a minute before removing the muffs.
-
Repeat if you've been in heavily salted water. Two flushes back-to-back is better than one long flush.
This routine takes less time than grabbing coffee. Make it non-negotiable after every saltwater trip.
Flushing Limitations and What It Cannot Prevent
Here's what most guides won't tell you: flushing slows corrosion but does not eliminate it entirely.
Flushing also assumes you do it consistently. Miss three trips, and salt deposits harden inside the cooling system.
Think of flushing as maintenance, not prevention, it's one essential step to prevent corrosion outboard engine damage, but only the first one. It's essential, but it's only the first step.
Using Outboard Motor Corrosion Spray Safely
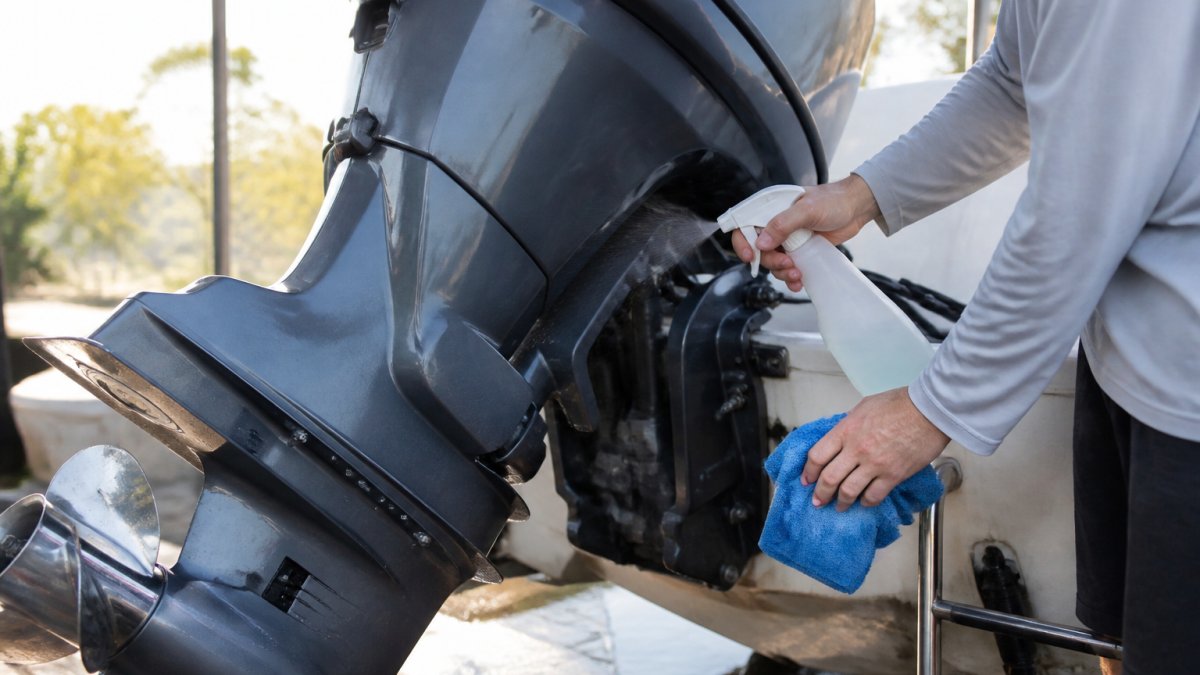
After flushing, apply a marine-grade corrosion inhibitor spray. This creates a barrier on exposed metal surfaces and electrical connections. The spray works by displacing moisture and sealing out salt and oxygen.
The key word is "safely." These sprays contain solvents that can damage rubber seals, plastic components, and electrical wiring if applied carelessly.
Safe Application Around Electrical and Rubber Components
Start by identifying what you should NOT spray:
- Rubber seals and gaskets: Solvents soften rubber and cause leaks. Mask off any rubber components with tape before spraying nearby areas.
- Electrical connectors and wiring: Spray can seep into connector housings and corrode contacts. Instead, apply spray to a cloth and wipe connectors dry. Do not spray directly.
- Plastic covers and fuel lines: Solvents crack plastic. Spray only metal surfaces.
- Engine belts and pulleys: Corrosion spray on belts reduces traction and causes slipping. Keep spray away entirely.
The safe application method:
- Mask rubber and plastic components with painter's tape or plastic sheeting.
- Spray metal surfaces in light, even coats. Two thin coats beat one heavy coat.
- For electrical connections, apply spray to a lint-free cloth first, then wipe the connector dry.
- Wipe away excess spray with a clean cloth. Pooling spray attracts dust and salt.
- Remove masking tape immediately after spraying.
Work in a well-ventilated area. These sprays produce strong fumes. Wear gloves and eye protection.
Application Schedule and Best Practices
Apply corrosion inhibitor spray monthly during boating season, or every time you flush, whichever comes first. In heavy saltwater use, monthly applications become weekly.
Here's the rhythm that works:
- After saltwater trips: Flush, then spray while the engine is still warm (but not hot). Warm metal absorbs the coating better.
- Monthly maintenance: Even if you haven't been out, spray exposed fasteners, connectors, and the powerhead exterior.
- Before storage: Give the entire engine a thorough spray coating before laying the boat up for winter.
Never spray a cold, wet engine. The moisture prevents the inhibitor from bonding to metal. Wait 15 minutes after flushing before spraying.
Understanding Boat Sacrificial Anodes and Replacement
Sacrificial anodes are metal pieces that corrode instead of your engine. They're your engine's bodyguard. As long as the anode is there, galvanic corrosion targets it first, leaving your powerhead, fasteners, and electrical connections protected.
Your outboard has zinc anodes, aluminum anodes, or magnesium anodes depending on the engine design. Each type corrodes at a different rate and works in different water conditions.
Reach out now to see how we can help with your boating needs! →
How Sacrificial Anodes Protect Your Engine
Galvanic corrosion happens when two dissimilar metals touch in saltwater. The saltwater acts as an electrolyte, causing electrons to flow from one metal to another. The metal that loses electrons corrodes first.
A sacrificial anode is positioned to be the "loser" in this electron exchange. It's made from a metal that corrodes more easily than your engine's aluminum or steel components.
Think of it as intentional corrosion. You let one cheap part corrode so the expensive engine stays intact.
Inspecting and Replacing Worn Anodes
Check your anodes every 50 hours of saltwater use, or monthly during season. A healthy anode looks smooth and metallic.
When to replace:
- If the anode is less than half its original size, replace it now.
- If it's chalky or heavily pitted, replace it.
- If you cannot remember when you last replaced it, replace it.
Replacement takes 15 minutes with basic tools. Most anodes bolt on with a single fastener.
Use the correct anode type for your engine and water conditions. Zinc works best in saltwater. Aluminum is better for brackish water. Magnesium works in freshwater but corrodes too fast in salt.
Protecting Exposed Metal, Fasteners, and Electrical Connections
Your engine's fasteners are constant targets for corrosion.
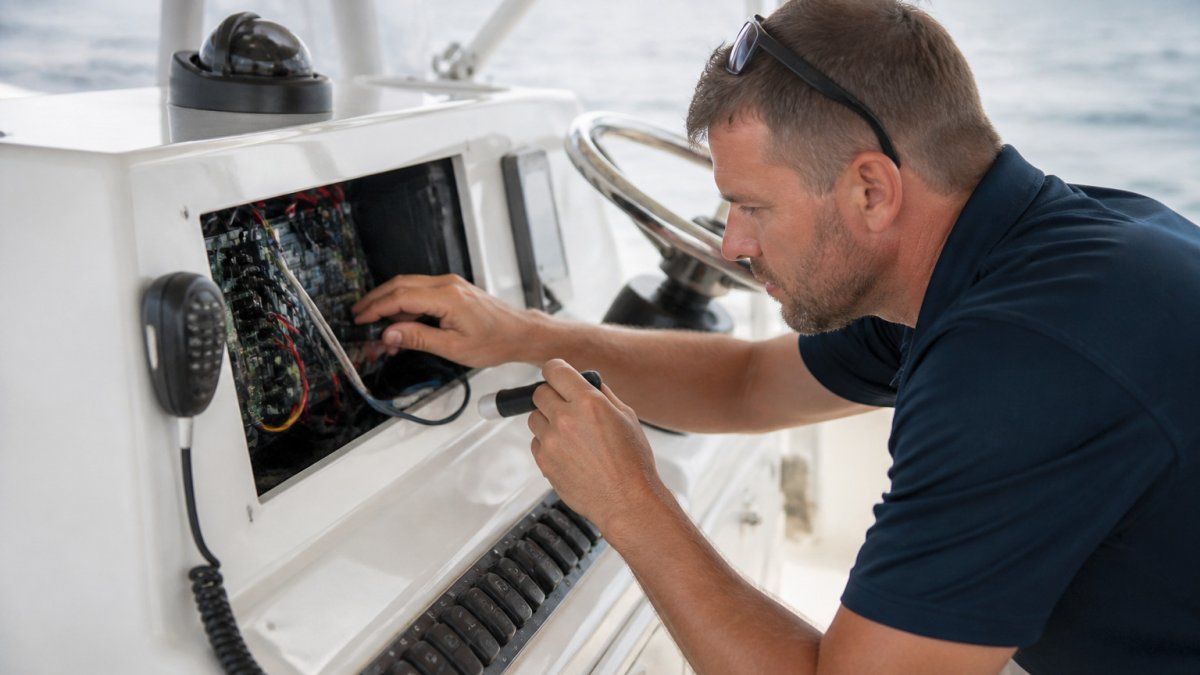
Electrical connections are worse. Corroded connectors cause intermittent problems that are maddening to diagnose. The engine runs fine, then suddenly dies.
Protect fasteners by applying a thin coat of marine-grade wax or grease every month.
Never use regular grease on electrical connections. It attracts dirt and can cause shorts.
Inspect fasteners and connectors visually every month. Look for white, green, or blue corrosion around bolt heads and connector housings.
Outboard Engine Maintenance Checklist for Corrosion Prevention
A maintenance schedule keeps corrosion from sneaking up on you. Review a comprehensive yacht maintenance checklist for Florida owners that covers all aspects of corrosion prevention specific to saltwater and humid climates. Follow this checklist religiously, and your engine will outlast the boat.
Monthly Inspection and Application Routine
- Flush with fresh water after every saltwater trip (non-negotiable)
- Inspect fasteners and connectors for early corrosion signs
- Apply corrosion inhibitor spray to exposed metal surfaces
- Check sacrificial anodes for wear (every 50 saltwater hours)
- Wipe electrical connectors with a cloth and apply dielectric grease
- Apply marine-grade wax to the powerhead exterior
This routine takes 30 minutes.
Seasonal Deep-Cleaning Protocol
Before winter storage and after heavy use seasons, do a deeper clean:
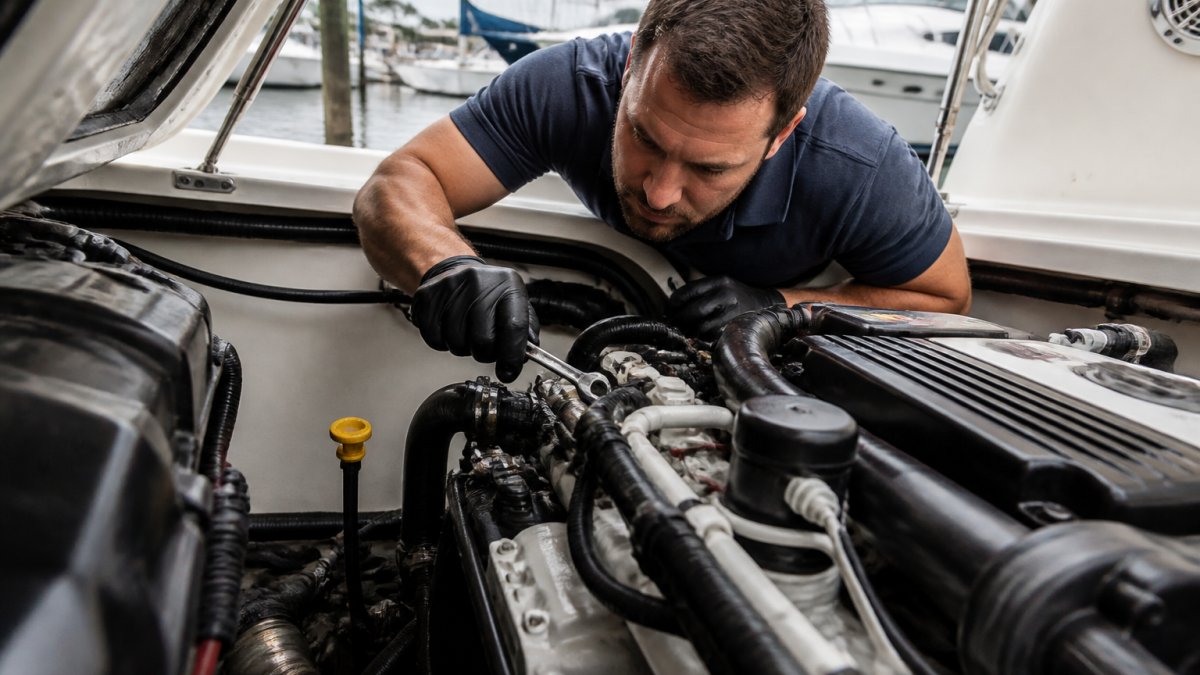
- Remove the engine cowl and inspect the under-cowl area for salt deposits
- Use a soft brush and fresh water to remove any white crusty deposits
- Dry thoroughly with compressed air or a cloth
- Apply corrosion inhibitor spray to all exposed metal in the under-cowl area
- Replace sacrificial anodes if they're more than half worn
- Apply a protective coating to the entire powerhead exterior
- Store the engine with the cowl on to protect it from dust and moisture
This deep clean helps prevent hidden corrosion.
Diagnosing Early Corrosion and When to Seek Professional Help
Early corrosion is easier to stop than advanced corrosion. Learn to spot the warning signs before they become expensive problems.
White, chalky deposits on fasteners or the powerhead mean salt corrosion is active.
If you see white or green deposits, clean them off immediately and apply protective coating.
You can learn more about when to hire a professional marine engine technician to assess whether your engine needs professional service.
Protecting Your Outboard Investment With Primo Yachts
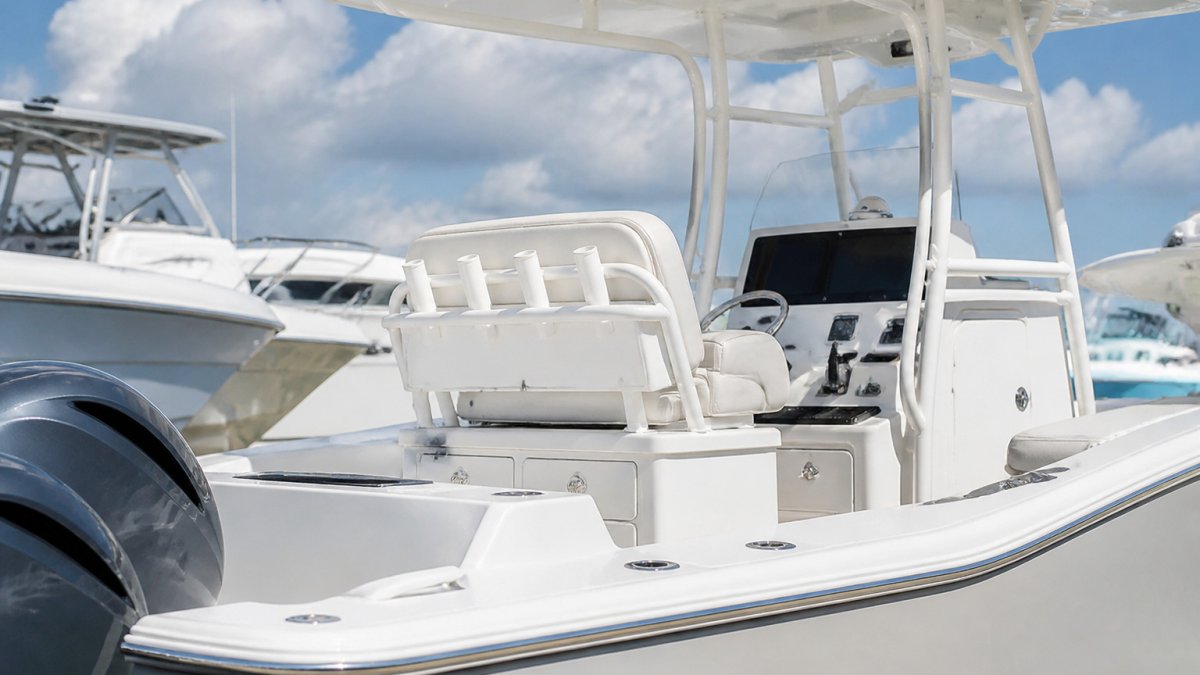
Your outboard engine is the heartbeat of your center console.
The routine is simple: flush after saltwater use, apply corrosion inhibitor monthly, check your anodes, and protect your fasteners and connectors. These habits take an hour a month.
At Primo Yachts, we've helped center console owners in South Florida protect their vessels since 2009.
| Maintenance Task | Frequency | Time Required | Impact |
|---|---|---|---|
| Flush with fresh water | After every saltwater trip | 10 minutes | Removes salt from cooling system |
| Inspect fasteners and connectors | Monthly | 5 minutes | Catches early corrosion |
| Apply corrosion inhibitor spray | Monthly or after trips | 15 minutes | Protects exposed metal surfaces |
| Check sacrificial anodes | Every 50 saltwater hours | 5 minutes | Ensures galvanic protection |
| Apply dielectric grease to connectors | Monthly | 10 minutes | Prevents electrical corrosion |
| Deep-clean under-cowl area | Before winter storage | 45 minutes | Removes hidden salt deposits |
Corrosion doesn't announce itself. It works silently, eating away at fasteners and electrical connections while your engine sits in the sun.
Frequently Asked Questions
How often should you inspect an outboard for corrosion?
Inspect your outboard monthly if you use it regularly, and after every saltwater outing. Look for white or green salt deposits, pitting on metal surfaces, and corrosion around fasteners and electrical connections. Early detection prevents minor corrosion from becoming expensive engine damage. If you store your outboard seasonally, inspect it before returning to the water and again after extended storage periods.
Can freshwater use also cause corrosion on outboard components?
Yes, freshwater can cause corrosion, though typically slower than saltwater. Stagnant freshwater, mineral deposits, and lack of protective coatings still expose metal surfaces to oxidation. Flush your outboard after freshwater use as well, especially if the water is stagnant or contains high mineral content. The principle is the same: remove water and salt deposits, protect exposed metal, and maintain sacrificial anodes regardless of water type.
How do you know when an outboard's sacrificial anodes need replacing?
Sacrificial anodes should be replaced when they are 50% worn or show significant pitting and corrosion. Check them monthly during inspection. A healthy anode appears relatively smooth; a heavily corroded one looks chalky, pitted, or thin. Most boaters replace anodes annually or every 100 operating hours in saltwater. If you find corrosion on engine components despite regular flushing and spray application, your anodes may be failing and need immediate replacement.
What anti-corrosion spray is safe to use on an outboard engine?
Use marine-grade anti-corrosion sprays specifically formulated for outboard engines. Avoid spraying directly on rubber belts, electrical connectors, or spark plug areas. Apply spray to exposed metal surfaces, fasteners, and the under-cowl area, keeping the nozzle 6-8 inches away. Allow adequate ventilation to prevent fume buildup. If you're uncertain about a specific product or application area on your outboard model, consult your engine manual or contact a marine technician before application.