 how-to
Upgrading Cabin Amenities on Open Deck Yachts
Table of Contents
- Understanding Cabin Upgrade Options for Open Deck Yachts
- Center Console Cabin Upgrades: Planning Your Project
- Small Yacht Cabin Storage Ideas and Implementation
- Center Console Boat Head and Shower Installation
- Power, Water, and Space Constraints
- Yacht Refit Planning Checklist for Cabin Upgrades
- Safety, Compliance, and Installation Trade-Offs
- Frequently Asked Questions
Last Updated: October 18, 2026
Understanding Cabin Upgrade Options for Open Deck Yachts
Upgrading cabin amenities on open deck yachts transforms time on the water. Whether you own a center console or a larger cruising vessel, the right interior improvements make extended trips more comfortable and boost resale value.
At Primo Yachts, we provide expert guidance for those seeking premium vessels. The key is knowing what upgrades work within your hull and systems.
Open deck yachts present unique challenges: tight space, limited power, and finite water capacity. Prioritize correctly and your upgrade dollars go further.
Center Console Cabin Upgrades: Planning Your Project
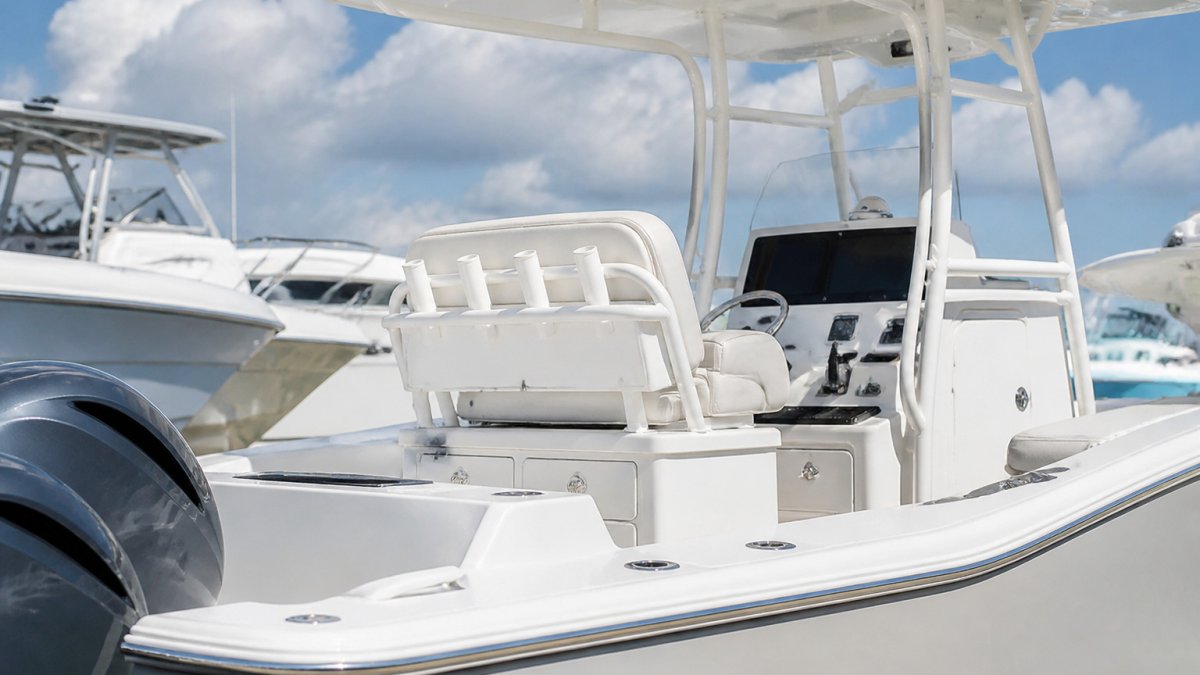
Center console cabin upgrades require a methodical approach: limited square footage and competing demands on weight, power, and water. Success comes from honest assessment before buying materials.
Start by understanding your current setup: measure everything, document what works and what doesn't, and photograph the layout from multiple angles. This baseline prevents expensive installation mistakes.
Assessing Current Cabin Layout and Space
Your cabin layout determines what's realistic.
Measure floor space, ceiling height, and existing fixtures. Note structural supports, electrical panel location, and water tank access.
Document what drains power: battery count and capacity, main panel amperage, and available breaker space. Many cabin upgrades fail because owners underestimate power demands.
Identifying Priority Upgrades
Not all upgrades deliver equal value. Some transform the experience; others are luxuries that drain your budget. Prioritize upgrades that address actual pain points: a bad shower, poor storage, or uncomfortable lighting are all legitimate first projects.
Sequence matters. Plumbing comes before cabinetry, electrical before appliances, and ventilation work often requires opening cabin structure, so timing counts. Rank your list by impact and cost, separating essential from aspirational.
Small Yacht Cabin Storage Ideas and Implementation
Storage transforms small cabins from cramped to functional. Most center consoles lack adequate storage; the fix just requires planning.
Vertical space is your best friend: wall-mounted cabinets, shelving, and hanging systems add capacity without consuming floor space, and modular units let you customize layouts.
Built-In Storage Solutions
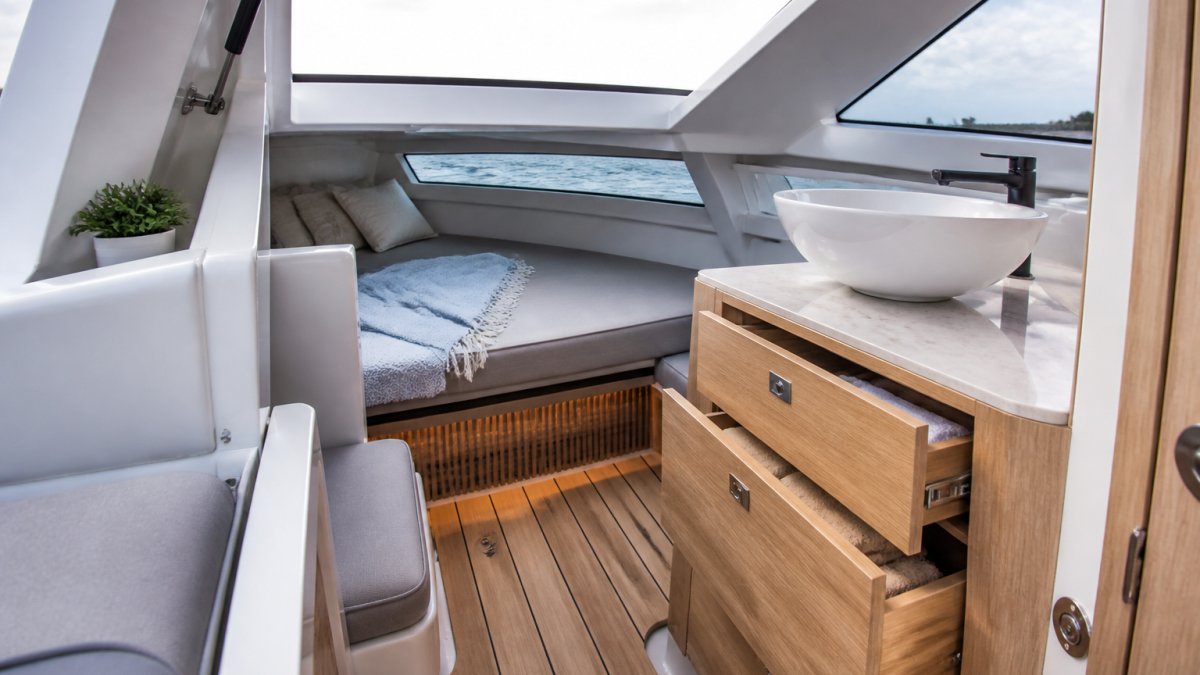
Built-in solutions maximize space and look cleaner and more permanent than free-standing furniture. Identify unused vertical surfaces: walls above bunks suit shallow shelving, bulkheads can hold lockers, and space behind cabin doors fits narrow storage.
Marine-grade plywood works well for custom cabinets, and stainless steel hardware resists corrosion better than painted alternatives.
Vertical Storage and Modular Systems
Modular systems offer flexibility built-ins don't: you can reconfigure them as needs change and remove them easily if you sell the boat. Hanging organizers work in galleys, stackable bins fit under bunks, magnetic strips hold metal tools, and over-the-door racks add capacity without permanent installation.
Match storage type to contents: fishing gear needs different organization than cruising supplies, and dry goods need different protection than electronics or safety equipment.
Center Console Boat Head and Shower Installation
The head and shower are often the biggest pain points in small cabins; upgrading them dramatically improves comfort on extended trips.
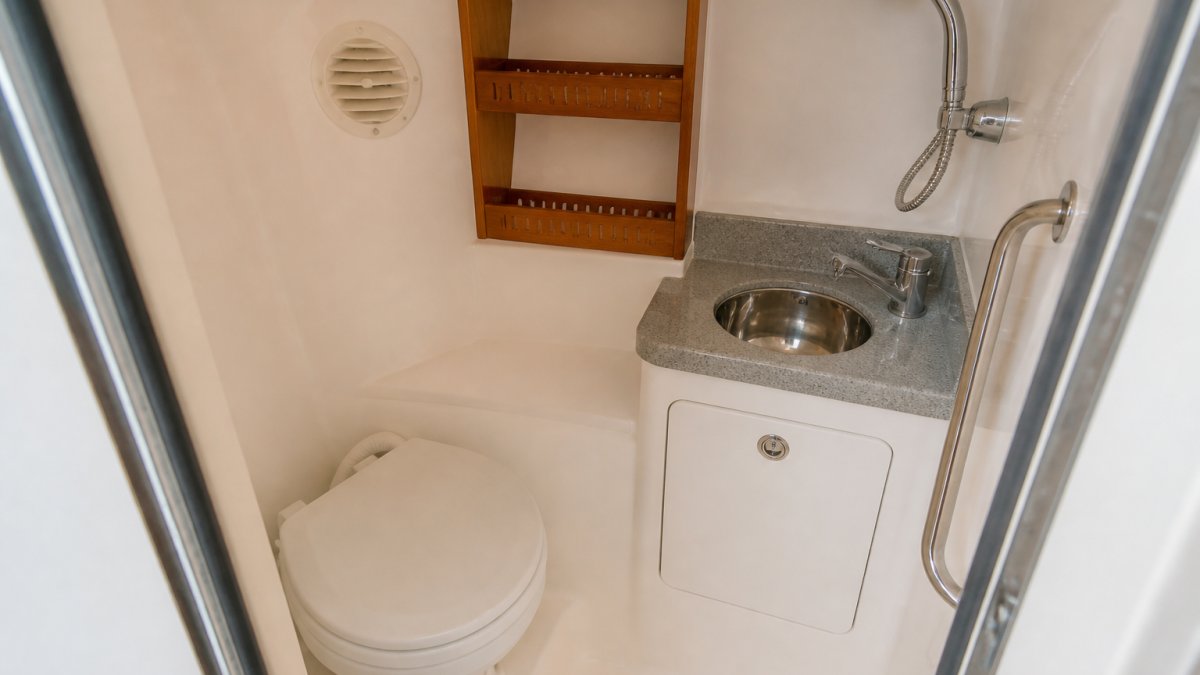
Most center consoles come with minimal head facilities, often just a porta-potty. A proper marine toilet with through-hull discharge is transformative, and even a small shower changes how livable the boat becomes.
Plumbing and Water System Considerations
Marine plumbing requires different thinking than shore-based systems. Gravity doesn't work the same way. Freezing is a concern. Salt water corrosion accelerates failure.
Through-hull fittings need proper seacocks, hoses must be marine-grade and supported, and connections should use stainless steel hardware.
Freshwater systems need pressure regulation. Most boats run 40-50 PSI; higher pressure stresses hoses and fittings, lower pressure means weak flow.
Check tank capacity before adding a shower.
Ventilation and Moisture Management
Moisture is the enemy in small cabins. Without proper ventilation, mildew and mold grow quickly.
A shower demands serious ventilation. A small exhaust fan helps but often isn't enough; operable hatches create airflow that removes moisture, and combining sources works best.
Insulation reduces condensation and improves temperature control. Marine-grade foam board works well, and since installation requires opening cabin structure, time it with other projects.
Power, Water, and Space Constraints
Every cabin amenity draws from three finite pools: electrical capacity, freshwater and waste capacity, and space and weight. Auditing these before buying equipment turns vague caution into a usable budget for an installer or DIY scope.
Run a 12-volt load audit before you buy anything
Start with an energy budget in amp-hours (Ah). List every existing DC load with rated amps and daily run time, then add the new amenity at its actual duty cycle, not peak rating.
Reach out now to see how we can help with your boating needs! →
- Lighting: LED fixtures typically draw well under 1 amp each; incandescent equivalents draw several times more, so a lighting upgrade often frees capacity rather than consuming it.
- Ventilation fans: a small 12-volt exhaust fan may draw 1-3 amps while running; a shower exhaust that runs 30 minutes after each use adds up over a weekend.
- Refrigeration: a 12-volt compressor fridge is one of the largest continuous loads on a small boat and often dominates the budget.
- Freshwater pump: intermittent but meaningful, especially with a shower.
- Inverter loads: any 120-volt appliance passes through an inverter, which adds conversion losses and can draw high current from the bank.
Convert to daily Ah, sum, and compare against usable battery capacity. Lead-acid banks should use roughly half of rated capacity; lithium tolerates deeper discharge but costs more. Add margin for cloudy days and aging batteries.
Size the water and waste side to the amenity
A shower is the biggest water consumer most owners add.
Waste capacity matters just as much. A marine toilet with a holding tank needs tank volume matched to crew size and pump-out access. Confirm where gray water from a shower drains and whether local rules require containment.
Account for weight and space honestly
Weight affects performance, fuel burn, and stability. Add each amenity's dry weight plus full water and waste (water is roughly 8.3 pounds per gallon) and compare to rated capacity.
Space is fixed, so measure first: usable floor area, headroom, and depth behind panels for hoses and wiring. Confirm a new fixture leaves clear access to seacocks, through-hulls, and the electrical panel, blocked service access costs you later.
Decide what the constraints rule out
Once the three audits are done, you have a short list of what fits. A water heater, air conditioning, or large fridge may require shore power or a significantly upgraded charging system. Writing those limits down early prevents the most common failure: buying equipment the boat cannot support.
Yacht Refit Planning Checklist for Cabin Upgrades
A structured approach prevents costly mistakes. Planning matters more than budget size: a modest project executed well beats an ambitious one that derails halfway.
Pre-Refit Assessment and Documentation
Document everything before work begins: photos and video of the existing cabin, plus the condition of structure, systems, and fixtures, including any damage or deterioration. List every upgrade, prioritize them, identify dependencies, and estimate time and cost for each.
Get professional opinions on structural issues. Soft spots, cracks, or delamination need addressing before cosmetic upgrades. A surveyor can identify problems you'd miss.
Installation Sequencing and Timeline
Sequence matters: structural work first, plumbing and electrical next, cosmetic work last.
Demolition takes time. Expect hidden problems, corroded fasteners, failed caulking, unexpected structural issues, and budget extra time.
Plumbing requires patience: test every connection, support and route hoses properly, and operation-test seacocks. Rushing creates leaks that are expensive to fix later.
Post-Installation Testing and Maintenance
Test before declaring a project complete: run every system through its full range and check for leaks, unusual sounds, or performance issues. Document what you've done: keep receipts, photos, and notes about materials and methods used.
Establish a maintenance routine: operation-test seacocks, inspect through-hull fittings, and visually check hoses for cracks or deterioration. Keep spare parts on board. Marine stores aren't always nearby.
Safety, Compliance, and Installation Trade-Offs
Every upgrade trades one risk for another. The goal is to make those trade-offs deliberately, with the standards and inspection points for recreational boats in mind, and to resolve compliance questions before work starts.
Fire, fuel, and electrical safety
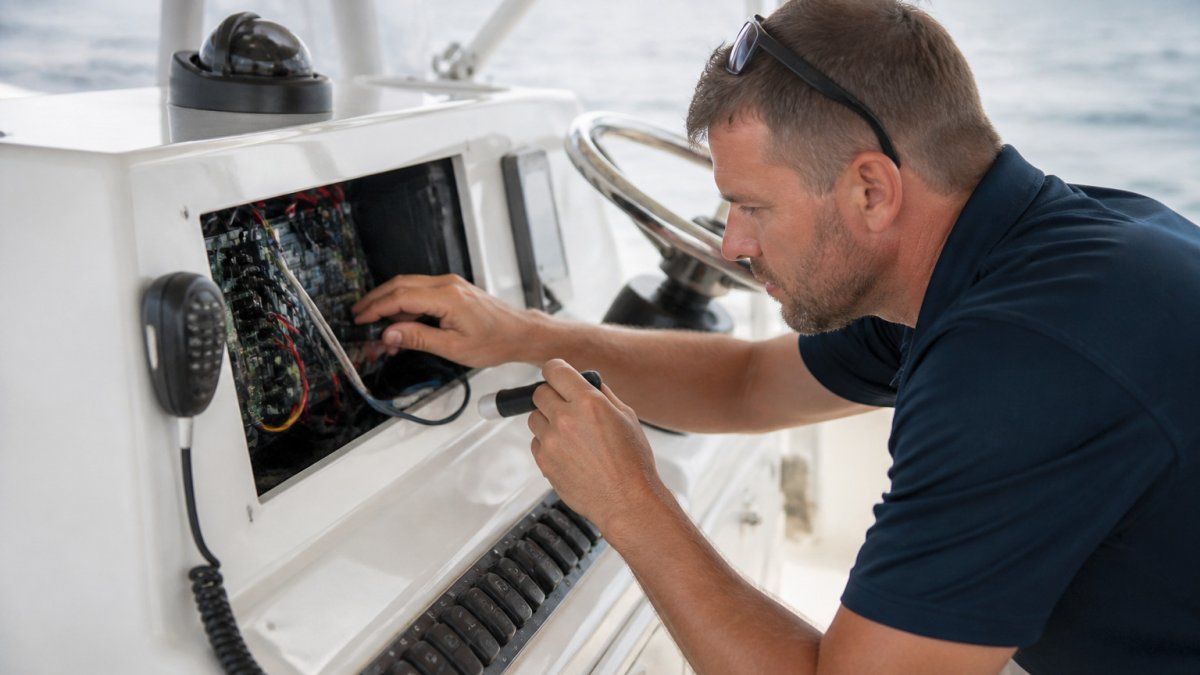
Electrical work is the highest-consequence area. Use marine-grade tinned copper wire, crimped and heat-shrunk connections, and circuit protection sized to the wire.
Work near fuel systems deserves extra caution. Don't route wiring or hoses through fuel compartments, keep ignition sources away from fuel vapors, and don't compromise engine-space or cabin ventilation to make room for an amenity.
Ventilation, egress, and moisture
Adding a shower or enclosing space changes airflow. Confirm exhaust ventilation runs to the exterior and operable hatches still provide cross-ventilation.
Moisture control is a safety issue as well as a comfort one. Trapped moisture damages structure and promotes mold. Insulate cold surfaces, ventilate after showering, and inspect for leaks after the first few uses.
Load limits and structural attachment
Heavy amenities must attach to structure, not paneling. Through-bolt or back with proper plates where loads are significant, and seal every penetration. Respect rated capacity for crew and gear, added tankage and equipment reduces the margin for people and supplies.
Through-hulls and the risk you accept
Each through-hull is a potential leak point. Use proper seacocks, double-clamp hoses below the waterline, and support hoses so they can't flex at the fitting. Label every seacock and keep handles accessible. A shower or washdown adds convenience but also a hole in the hull that must be maintained.
Compliance and insurance questions to resolve first
Requirements vary by vessel type, size, and water body, so confirm specifics for your boat. Common checkpoints:
- USCG requirements: recreational vessels must carry specified safety equipment, and modifications should not compromise required lighting, ventilation, or egress. Confirm current requirements with the U.S. Coast Guard.
- ABYC standards: the American Boat & Yacht Council publishes widely referenced standards for electrical systems, plumbing, and fuel systems. Many surveyors and insurers expect work to follow them.
- Local discharge rules: gray water and sewage discharge rules differ by water body. Check with your marina or local boating authority before routing any discharge.
- Insurance: notify your insurer of major modifications. Some changes affect coverage or require an updated survey.
The trade-off ledger
Write down what each upgrade gains and costs in risk, weight, maintenance, and space. A larger cabin may reduce deck space and fishing capability, more systems mean more failure points, and open hatches improve ventilation but raise security concerns. Reviewing the ledger before you buy keeps small compromises from becoming expensive regrets.
Frequently Asked Questions
What cabin amenities can you add to an open-deck yacht?
Common cabin amenities include a marine head and shower, upgraded sleeping berths with quality mattresses, improved storage solutions, additional windows or portholes, better ventilation systems, and enhanced lighting. You can also add a galley area, entertainment systems, and premium upholstery. The feasibility depends on available space, power supply, water capacity, and weight distribution. Consult with a marine contractor to determine what works for your specific yacht model.
How do you choose cabin upgrades for a center console boat?
Prioritize upgrades based on how you use your yacht. Serious offshore anglers may prioritize a functional head and shower over luxury finishes. Family cruisers often prioritize comfort amenities and storage. Evaluate your power and water constraints first, then assess structural space. Consider the upgrade's impact on weight distribution and performance. A yacht refit planning checklist helps you organize priorities by budget, installation complexity, and usage patterns. Start with essential systems before cosmetic upgrades.
Can you add a head or shower to a center console cabin?
Yes, you can add a center console boat head and shower, but installation requires careful planning. You need adequate freshwater capacity, proper plumbing routing, a vacuum-flush toilet or composting system, and ventilation to manage moisture. Space constraints often mean a compact wet head design. Installation costs and complexity vary based on existing systems and cabin layout. Marine contractors experienced with center console retrofits can assess whether your yacht's systems can support these additions.
How can you improve storage in a small yacht cabin?
Small yacht cabin storage ideas include custom-built cabinetry that uses vertical space efficiently, under-berth storage drawers, overhead compartments, and modular storage systems. Vacuum-sealed bags reduce clothing volume. Magnetic spice racks and wall-mounted organizers maximize unused wall space. Built-in shelving with dividers keeps items organized and prevents shifting underway. Prioritize frequently used items for accessible storage. A professional marine carpenter can design storage solutions that fit your cabin's exact dimensions and weight distribution requirements.